
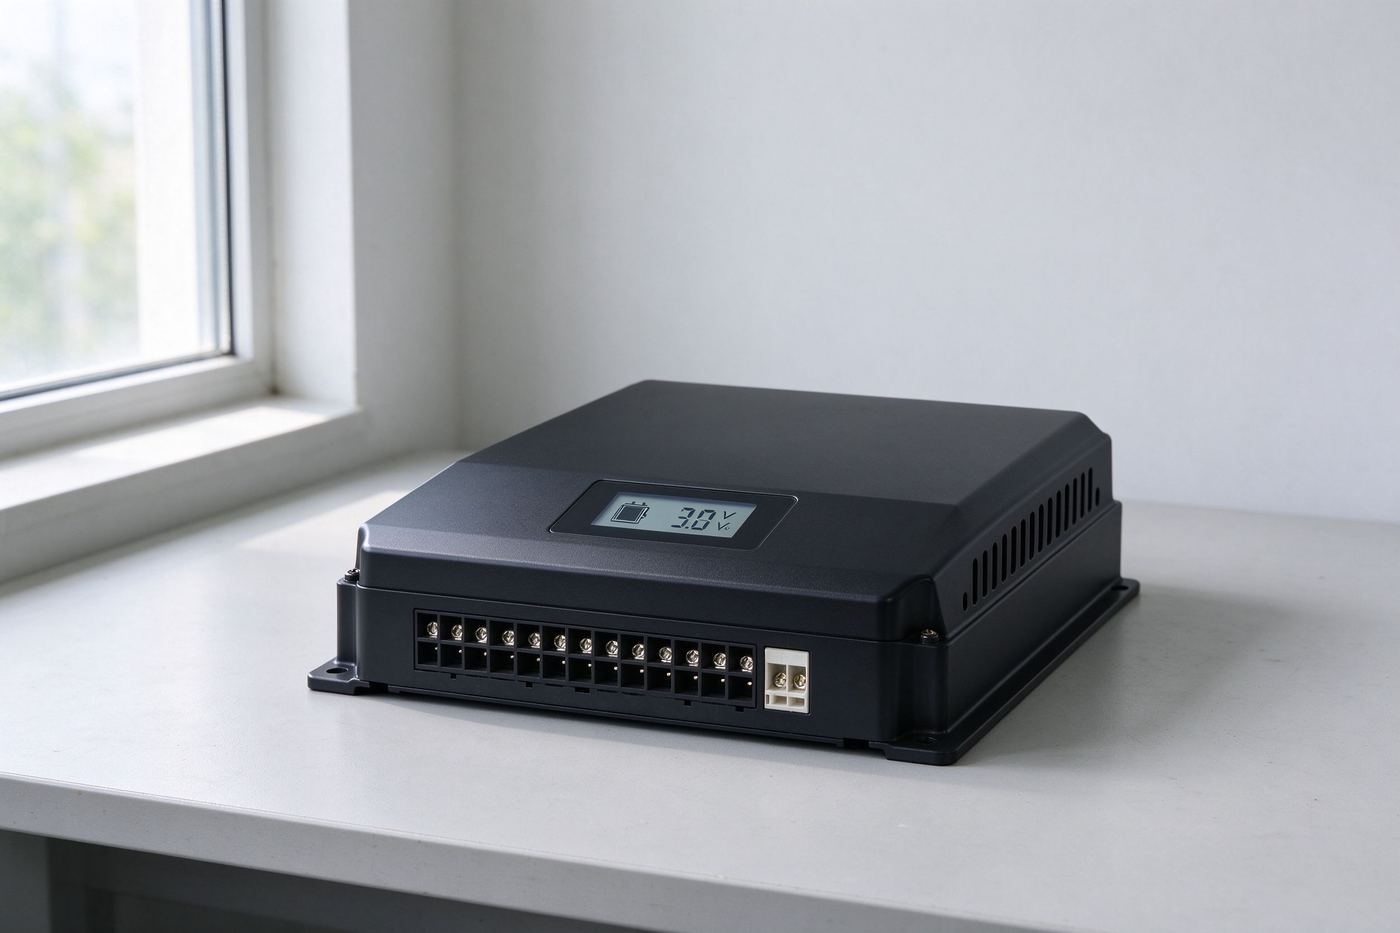
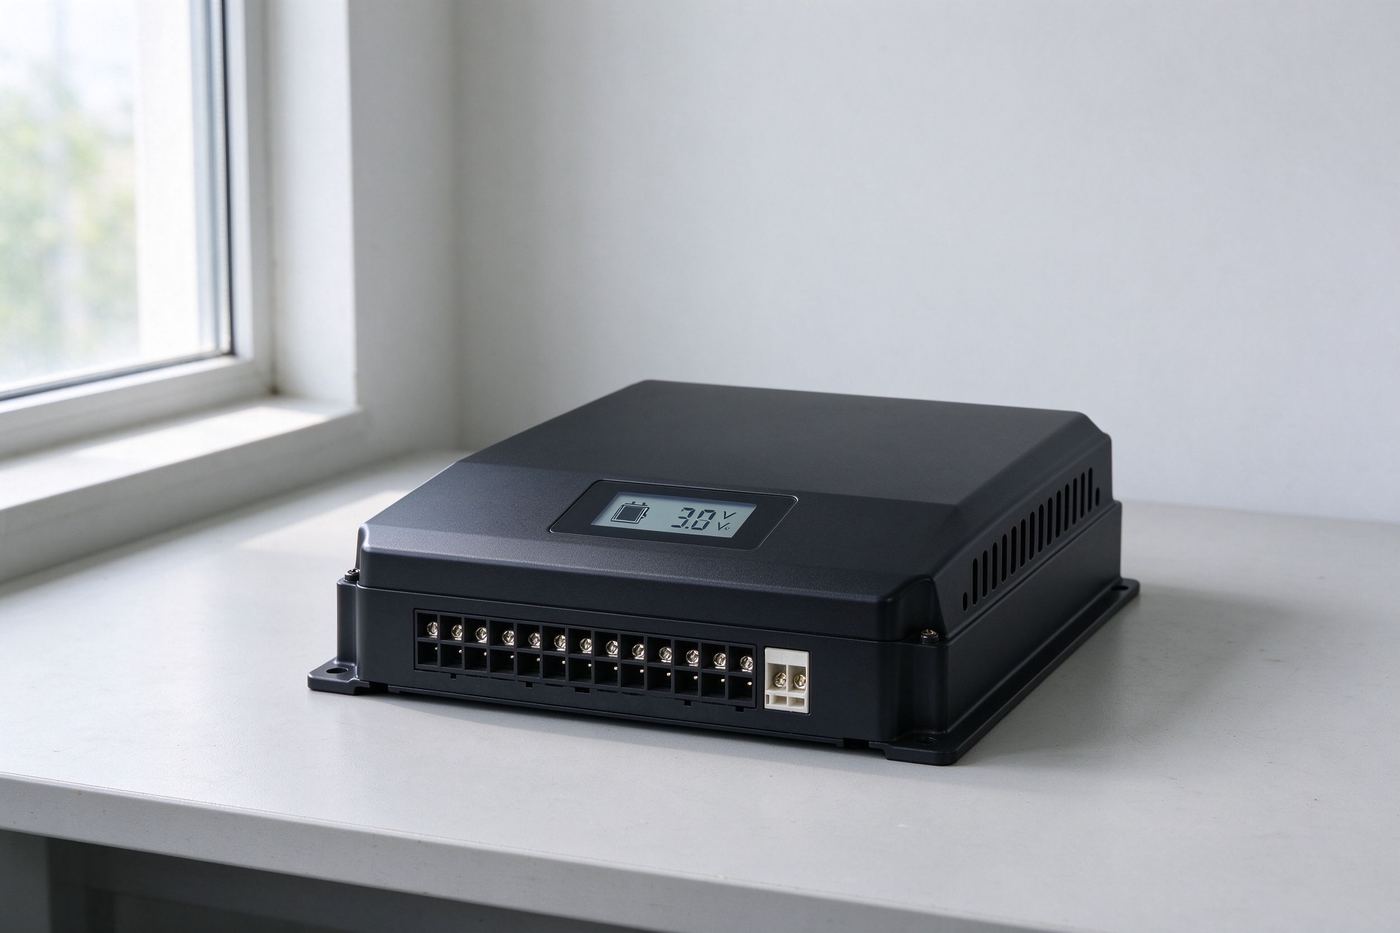
A basic PWM controller throws away up to 30% of your solar energy.
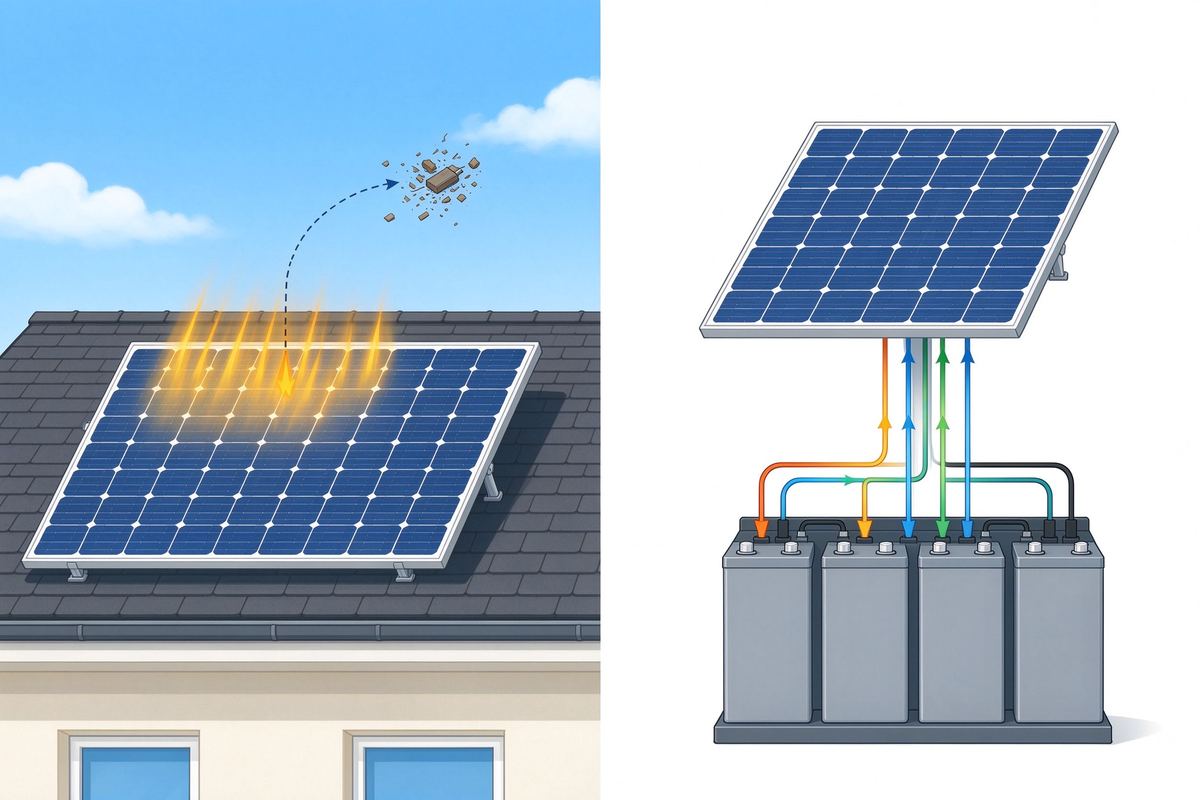
Solar panels produce more voltage than your battery needs. A basic PWM controller just drops the extra voltage as heat. An MPPT controller converts that excess into usable current — up to 30% more energy from the same panels.
- ▪ PWM wastes energy. It simply connects the panel to the battery and burns off the extra voltage as heat on a sunny day.
- ▪ MPPT tracks the sweet spot. It continuously finds the operating point where the panel delivers the maximum power, then converts the excess voltage into more current.
- ▪ On a 400W panel array, 30% is about 120W more per day. Over a month, that is enough extra to run a fridge, a laptop and a few lights.
- ▪ The panels are the expensive part. The controller is the cheapest upgrade you can make to get more out of the panels you already own.
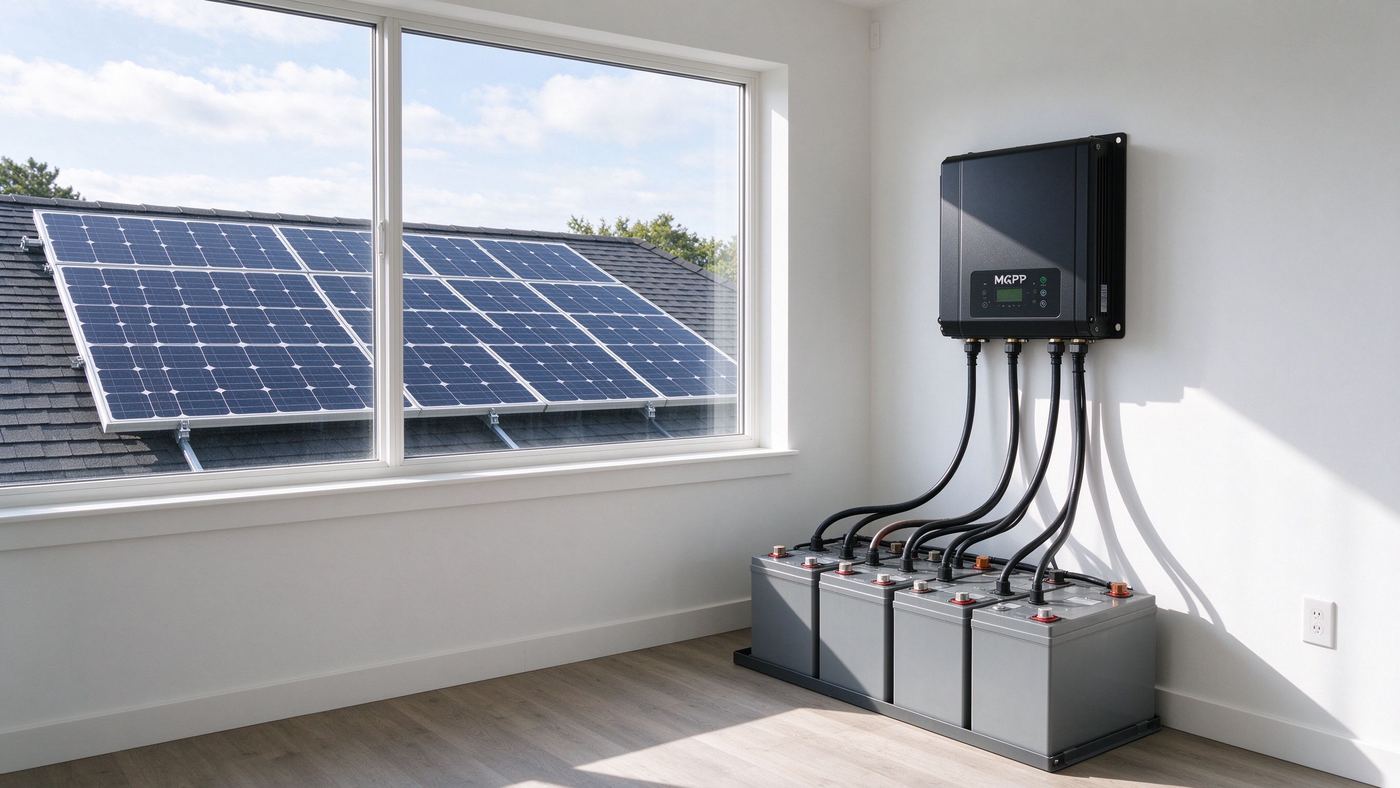
The brain between your panels and your battery bank.
It sits between the solar panels and the batteries, managing charge so the battery fills faster, lasts longer, and never gets overcharged.
Whether your system is 12V, 24V, 36V or 48V, the controller detects it automatically on first power-up. No dip switches to set, no guesswork.
The maximum power point tracking algorithm updates every few seconds, so the panel array is always operating at its peak output as clouds move and light changes.
Voltage, current, power, battery level and temperature — all on the screen at a glance. No app, no phone needed to check how the system is doing.
Works with LiFePO4, gel, AGM, flooded lead-acid and lithium-ion batteries. Select the chemistry from the menu and the charge profile adjusts automatically.
Everything you need to see, and everything you need to connect.
The screen tells you what is happening. The terminals on the bottom accept the cables you need to wire the whole system.
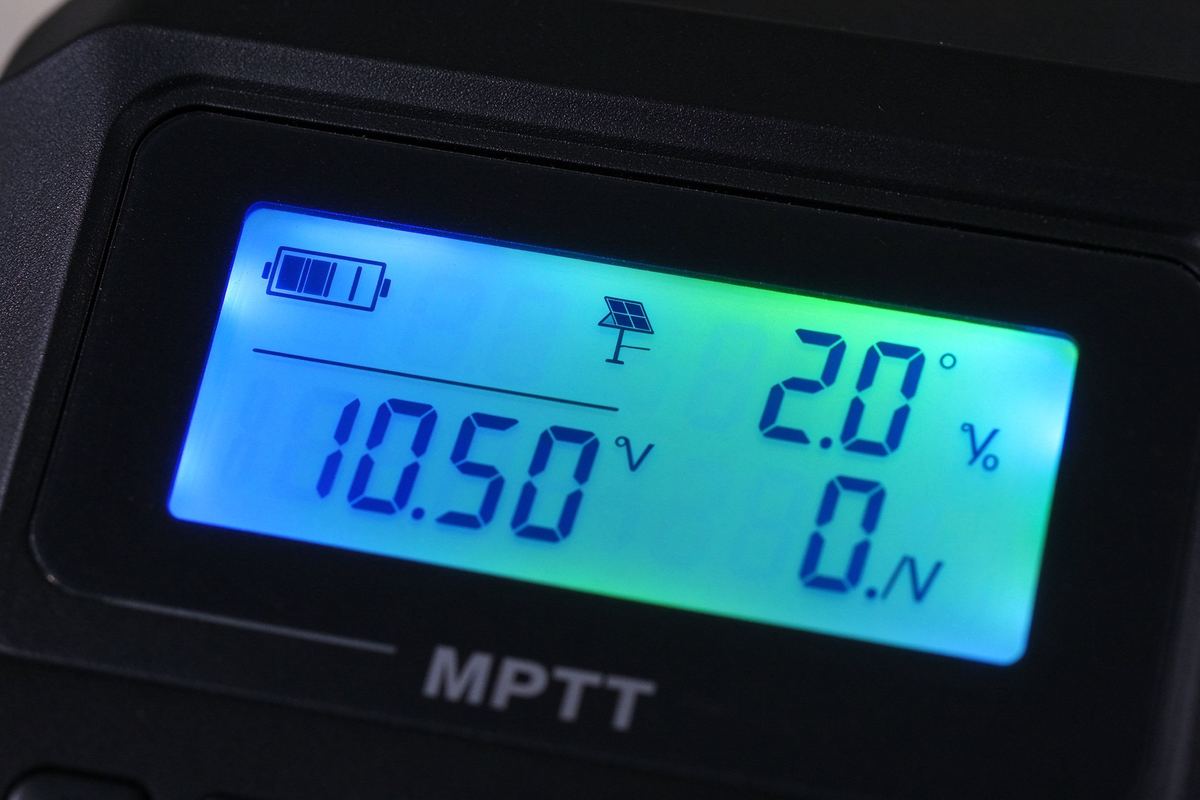
- ▪ Real-time monitoring. Panel voltage, charging current, battery voltage and battery state of charge all display live on the screen.
- ▪ Temperature sensor built in. The controller measures battery temperature and reduces charging current in extreme heat or cold to protect the cells.
- ▪ Terminal blocks for thick cable. Bottom-mounted screw terminals accept battery and panel cables up to 6 AWG, so no lug adapters are needed.
- ▪ Dual USB ports. Two 5V USB outputs on the front for charging a phone, tablet or small device directly from the controller.
Mount it, wire it, set the battery type.
No software, no network, no configuration wizard. Mount on a wall, connect the cables in the right order, select your battery chemistry, done.
Two mounting brackets on the back. Screw to a wall or mounting plate in a cool, dry, ventilated location away from direct sunlight.
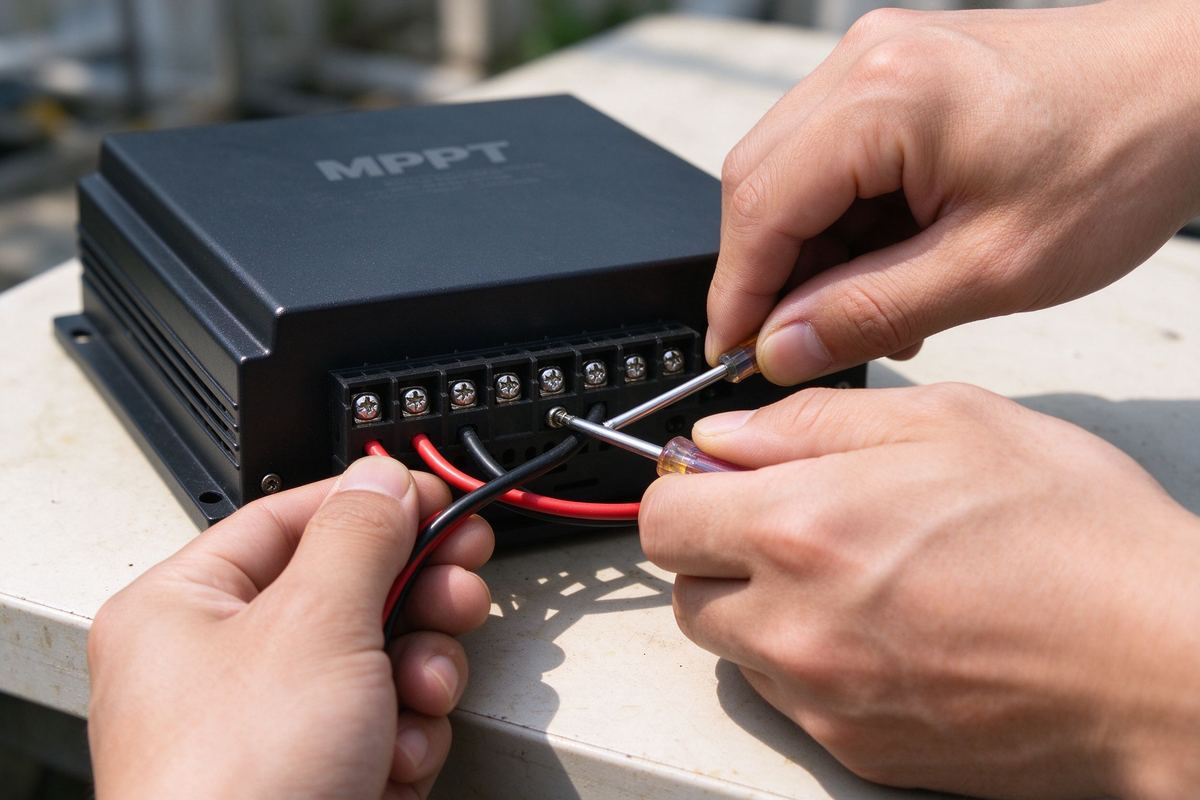
Wire the battery to the battery terminals first, then the solar panels to the panel terminals. The controller powers on when it senses the battery.
Scroll through the menu on the screen: LiFePO4, gel, AGM or flooded. The charge voltage and float voltage are pre-set for each chemistry.
Watch the screen during the first charge. Confirm the panel voltage is showing, the charging current is rising, and the battery level indicator is moving.
What it handles, and what it does not.
It manages charging from solar panels to a battery bank. It is not an inverter, it does not pass AC power through, and it does not start the engine.
| Use it for | Fits | Note |
|---|---|---|
| Off-grid solar systems | 12V / 24V / 36V / 48V battery banks | RVs, cabins, tiny homes, remote sheds and backup power systems with solar panels. |
| LiFePO4 and lead-acid batteries | 60A max charging current | Select the chemistry from the menu. Charge voltage and float voltage adjust automatically. |
| Monitoring system performance | LCD display, USB output | Check panel output, battery level and charge current on the screen. USB ports power small devices. |
| Converting DC to AC for household appliances | — | It is a charge controller, not an inverter. You still need a separate inverter to run 120V appliances. |
| Grid-tie solar systems | — | Grid-tie systems use a grid-tie inverter, not a charge controller. This is for off-grid and battery-based systems only. |
Note: Disconnect the battery before working on the wiring. Always connect the battery first, then the solar panels. Reverse order can damage the controller.
Three ways to charge a battery from solar panels.
The same panels, the same battery bank, and the real difference in energy harvest.
| At a glance | This MPPT controller | Basic PWM controller | No controller (direct connect) | Inverter with built-in MPPT |
|---|---|---|---|---|
| Energy harvest | Up to 30% more from the same panels | Baseline, burns off excess | No regulation, overcharges the battery | Depends on the inverter |
| Battery protection | Overcharge, over-discharge, reverse polarity | Overcharge and short circuit | None, battery gets ruined | Managed by the inverter software |
| Display | LCD real-time voltage, current, power | Basic LED indicator or none | No display | On inverter screen or app |
| Best for | Off-grid systems, RVs, cabins, backup power | Small systems on a tight budget | Not recommended | All-in-one inverter systems |
| Cost per watt gained | Lowest, fastest payback | Low, but harvests less | Replaces the battery, not a savings | Higher, bundled with the inverter |
What you get, in plain numbers.
Current rating, voltage range, and the protection features built in.
| Specification | Value |
|---|---|
| Rated charging current | 60A |
| Battery system voltage | Auto detect: 12V / 24V / 36V / 48V |
| PV max open-circuit voltage | Up to 100V DC |
| Charging technology | MPPT (Maximum Power Point Tracking), tracking efficiency > 99% |
| Battery chemistry | LiFePO4, gel, AGM, flooded lead-acid, lithium-ion |
| Display | LCD with backlight, real-time voltage/current/power/battery level |
| USB output | Dual 5V USB ports |
| Protection | Overcharge, over-discharge, over-current, short circuit, reverse polarity, over-temperature |
| Terminal cable size | Up to 6 AWG (battery and panel cables) |
| Mounting | Wall or panel mount, built-in brackets |
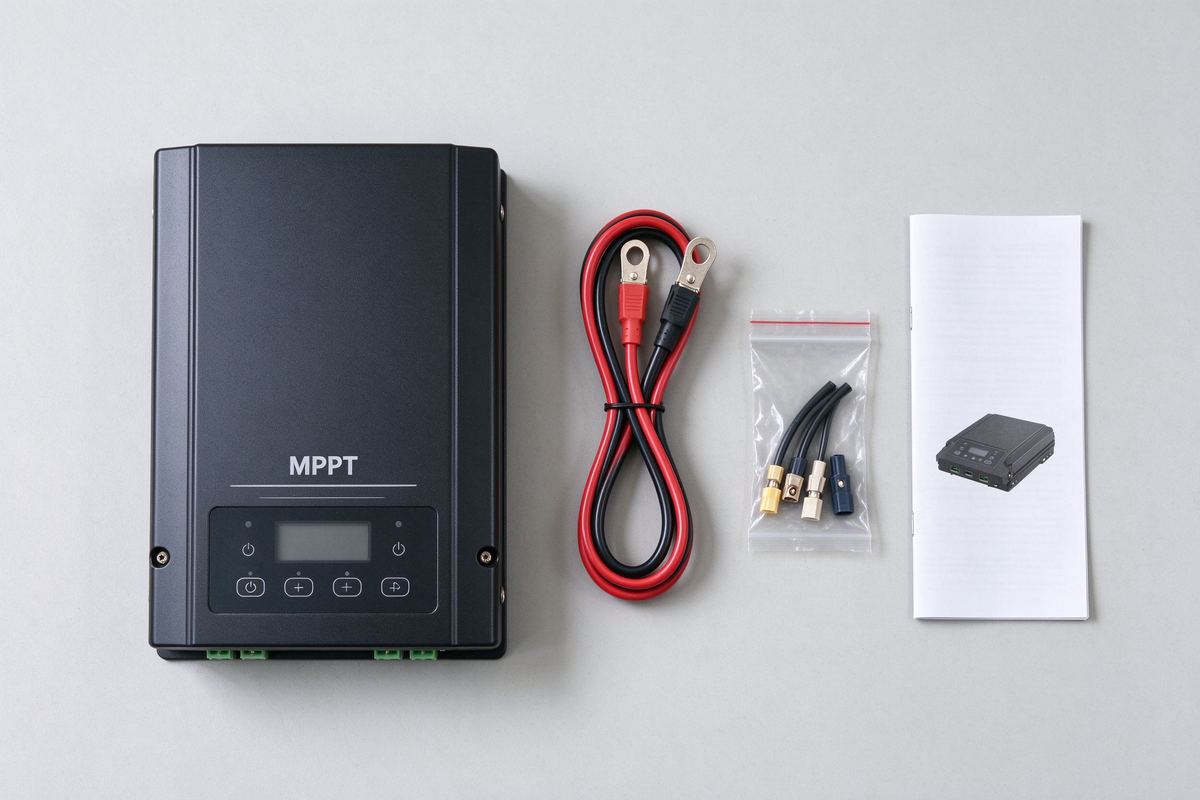
MPPT charge controller unit, mounting hardware, user manual, and a pair of battery cables with ring terminals.
This is a charge controller, not an inverter. It manages DC charging from solar panels to a battery bank. You need a separate inverter to run AC appliances, and a separate battery bank to store the energy.
Four wiring rules that keep the whole system safe.
A charge controller handles hundreds of watts. Wiring it wrong does not just void the warranty — it can start a fire.
- ▪ Battery first, panels second. Always connect the battery terminals before the panel terminals. Reverse order can fry the controller on first power-up.
- ▪ Double-check polarity. Red to positive, black to negative. A reverse-polarity connection on the battery side bypasses the protection circuit.
- ▪ Fuse the battery cable. Install a fuse or circuit breaker between the battery positive terminal and the controller. If the cable shorts, the fuse blows instead of starting a fire.
- ▪ Ventilate and keep it cool. The controller generates heat under load. Mount it in a dry, ventilated space, not inside a sealed battery box or in direct sunlight.
If your panels produce only slightly more voltage than the battery, a basic PWM controller may be fine. But if your panel Voc is more than 2V above the battery voltage, MPPT recovers the difference as usable current.
Yes. Select LiFePO4 from the battery type menu. The charge voltage and float voltage are pre-set for LiFePO4 cell balancing.
At 12V, up to roughly 600W of panels. At 24V, up to 1200W. At 48V, up to 2400W. Calculate the max panel wattage against your battery system voltage.
Mount the unit, connect the battery and panels, select your battery chemistry from the menu, and the controller does the rest. The display shows real-time status.
It is designed for indoor or sheltered installation. Direct sunlight, rain and extreme temperatures will shorten its life. Mount it in a ventilated enclosure if it must be outdoors.
- ▪ 60A MPPT controller for 12V, 24V, 36V or 48V battery banks — auto-detects on first power-up.
- ▪ MPPT tracking recovers up to 30% more energy from the same solar panels compared to a basic PWM controller.
- ▪ LCD display shows real-time voltage, current, power and battery level. Dual USB ports for charging devices.
- ▪ Works with LiFePO4, gel, AGM and flooded lead-acid batteries. Full protection suite built in.
60A MPPT solar charge controller, auto 12V/24V/36V/48V, LCD display, LiFePO4 compatible.




Reviews
There are no reviews yet.